So you've discovered Cursor and want to dip your toes into improving your Sanity DX with artificial intelligence? Well, let's take you on a trip and share you some cheat codes along the way!
A bit of background
If you're brand new to Cursor and you want to start work with Sanity I advise a couple of things
- Indexing all of Sanity's documentation
- This makes working with Sanity more contextually accurate (at least from our experience). It also allows you to @sanity within a prompt if you want to solve something specific to Sanity.
- Adding our code to the "Rules for AI"
- This gives our opinionation to any future prompts you use. Just be aware we are very Sanity, Tailwind and Next.js focused, adjust accordingly for your projects.
- Enabling Co-pilot ++ beta
- This was a little rough when first released, but now it has given us some great code improvement freebies, so we'd advise turning it on.
Video of adding Sanity indexing to Cursor
Video of adding our schema and enabling co-pilot ++ beta
TL;DR let me steal your code
Alright, well at least you asked nicely. Here's the code we use for our cursor config:
No spam, only good stuff
Subscribe, for more hot takes
Why did you structure your code that way?
There's probably a lot that could be improved but it gives you a solid foundation to start with.
Let me break it down, and tell you why we use each section.
This is a nice easy one, 9 times out of 10 we're using tailwind when we are styling a project. There's literally no reason not to use Tailwind outside of "It looks bad". It's cleaner, it's easier to revisit and if you're sick of it not wrapping and can't read lines longer than the London marathon pick up our tailwind tips here
Now we get into the actual Sanity content. The shorthand is. Our internal best practice is always including a description on core fields. What do we mean by "core fields". Titles, Descriptions, Images etc. Nothing more complicated than that.
We also recommend including them in this order:
- Title
- Name
- Description
- Type
- Validation
- Options
In this case, anything that's highlighted in bold above we would recommend using on **every **schema. It just helps to contextualise each field.
We'll return to this at a later date though, because we'll end up waffling and I want to write more about our internal Sanity Best Practices, because we sure as hell have a lot of opinions on how to structure schema.
The reason we're doing this should be pretty self explainatary, but let me condescend you if I haven't already. You do this because users, clients & marketers find it difficult to be on the same wave length as a developer. Ninety percent of the time we're-six-feet deep in documentation so we often make assumptions how a user will use the CMS. In the real world, this never actually happens. So for the sake of the future UX of your team, make sure you document the hell out of your schema by using **descriptions. **Even if it's not perfect, it's a large step forward from a blank field without context.
This leads us onto the actual schema we use for the rest of the prompt.
I guarantee you, at least 50% of the fields you've just read, you repeat again and again. So guess what? It makes perfect sense to standardise your description text for each of them. We've started with our most common components but I could very much see this list expanding as we add future components consistently.
Inspiration for the post

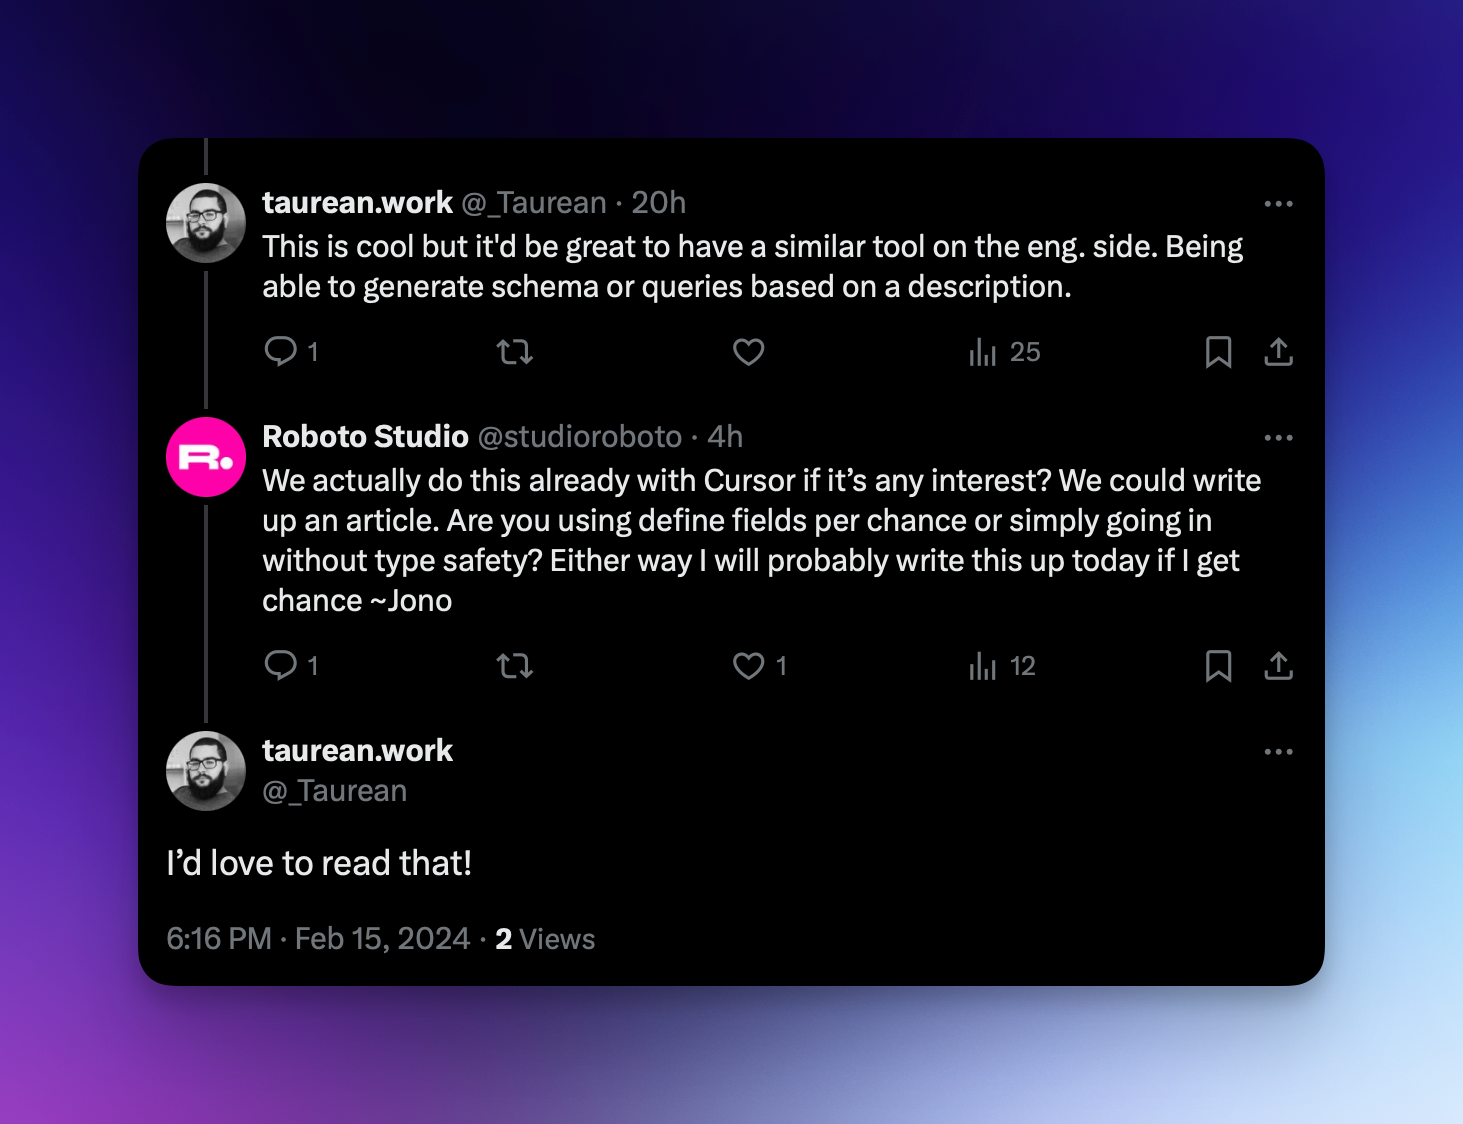
Thanks @taureen.work for the inspiration for this blog post. It's been something we've wanted to write about for a while as we've been using it fairly consistently in-house. Tell us how you get on with Cursor, we've got no shares in the tool, but we'd genuinely like to know for the developer experience of Sanity in general.
We're going to keep stalking the Sanity twitter (I'm not going to call it X), and if we find any more insightful comments, we're definitely going to give our two cents.

